Learn how to prevent and treat blisters while trekking with our ultimate foot care guide. Keep your feet happy, pain-free, and ready for every adventure!”
Trekking is an exciting adventure that allows you to explore nature, challenge yourself, and enjoy breathtaking landscapes. However, one of the most common problems trekkers face is blisters. These small but painful skin irritations can turn an amazing journey into an uncomfortable experience.
Proper foot care is essential to keep blisters at bay and ensure a smooth trek. Understanding how blisters form, how to prevent them, and how to treat them if they appear can make all the difference. This blog will walk you through everything you need to know to protect your feet on the trail.
Understanding Blisters: Causes and Risk Factors
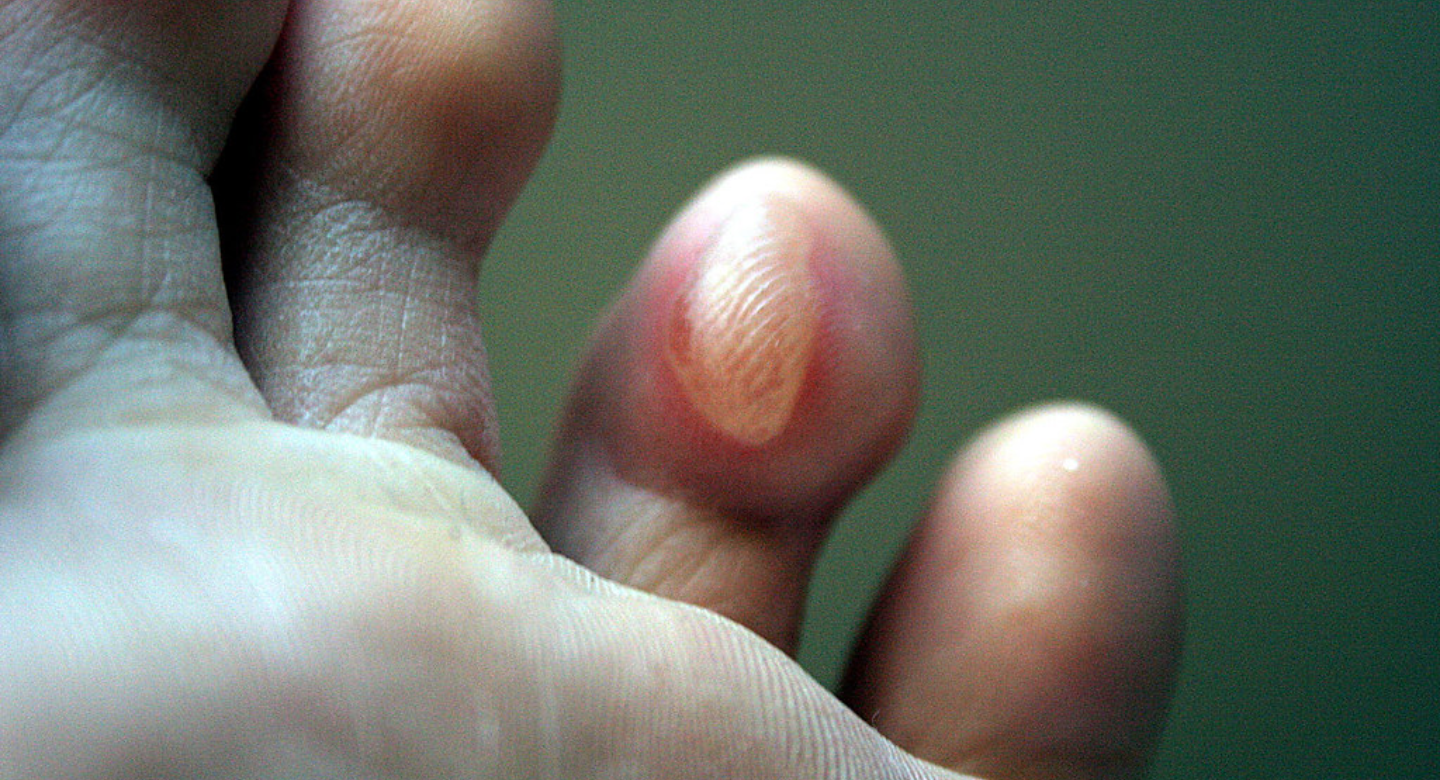
What Are Blisters?
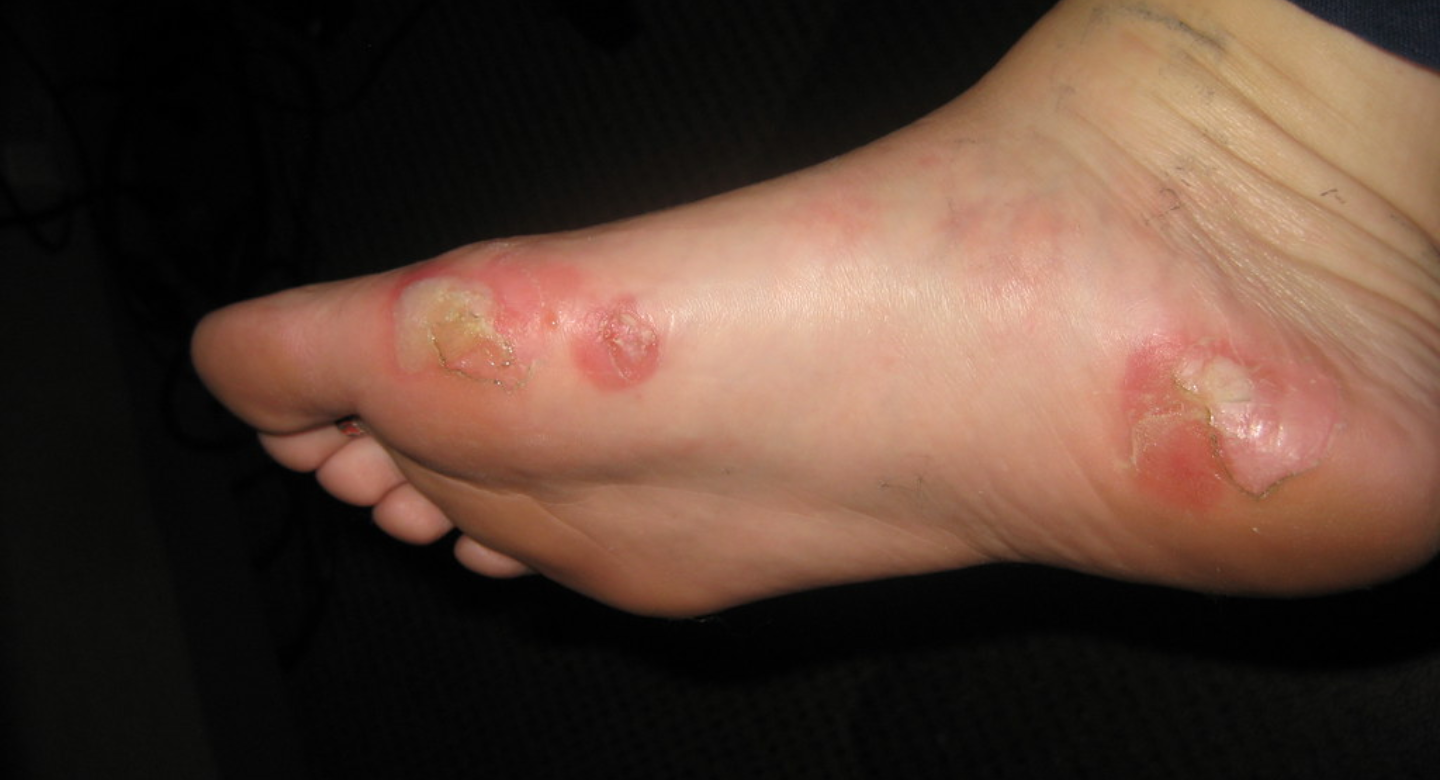
Blisters are small fluid-filled pockets that develop on the skin due to friction, heat, or moisture. They often form when the outer layer of the skin is irritated, leading to a buildup of fluid as the body’s way of protecting the damaged area.
Common Causes During Trekking
Several factors contribute to blisters while trekking, including:
- Friction from ill-fitting shoes: Shoes that are too tight, too loose, or not broken in properly can rub against your skin and cause blisters.
- Moisture buildup from sweat or wet conditions: Damp feet from sweating or walking in wet environments soften the skin, making it more vulnerable to irritation.
- Long hours of walking without rest: Continuous movement increases the chances of friction, especially if your feet swell over time.
- Poorly conditioned feet: If your feet are not used to long treks, the skin may be more sensitive to friction, leading to blisters.
Who Is Most at Risk?
Anyone can get blisters, but some people are more prone to them than others. You may be at higher risk if:
- You’re new to trekking and your feet are not yet accustomed to long walks.
- You wear new or poorly fitting shoes that haven’t been tested on long distances.
- You sweat excessively, increasing moisture buildup.
- You have sensitive skin that is more prone to irritation.
Understanding these risk factors allows you to take proactive steps to prevent blisters and keep your trek enjoyable.
Prevention: How to Avoid Blisters Before and During a Trek
Blisters can be painful and frustrating, but the good news is that they are completely preventable with the right precautions. By choosing proper footwear, wearing the right socks, and preparing your feet before the trek, you can greatly reduce the chances of blisters forming.
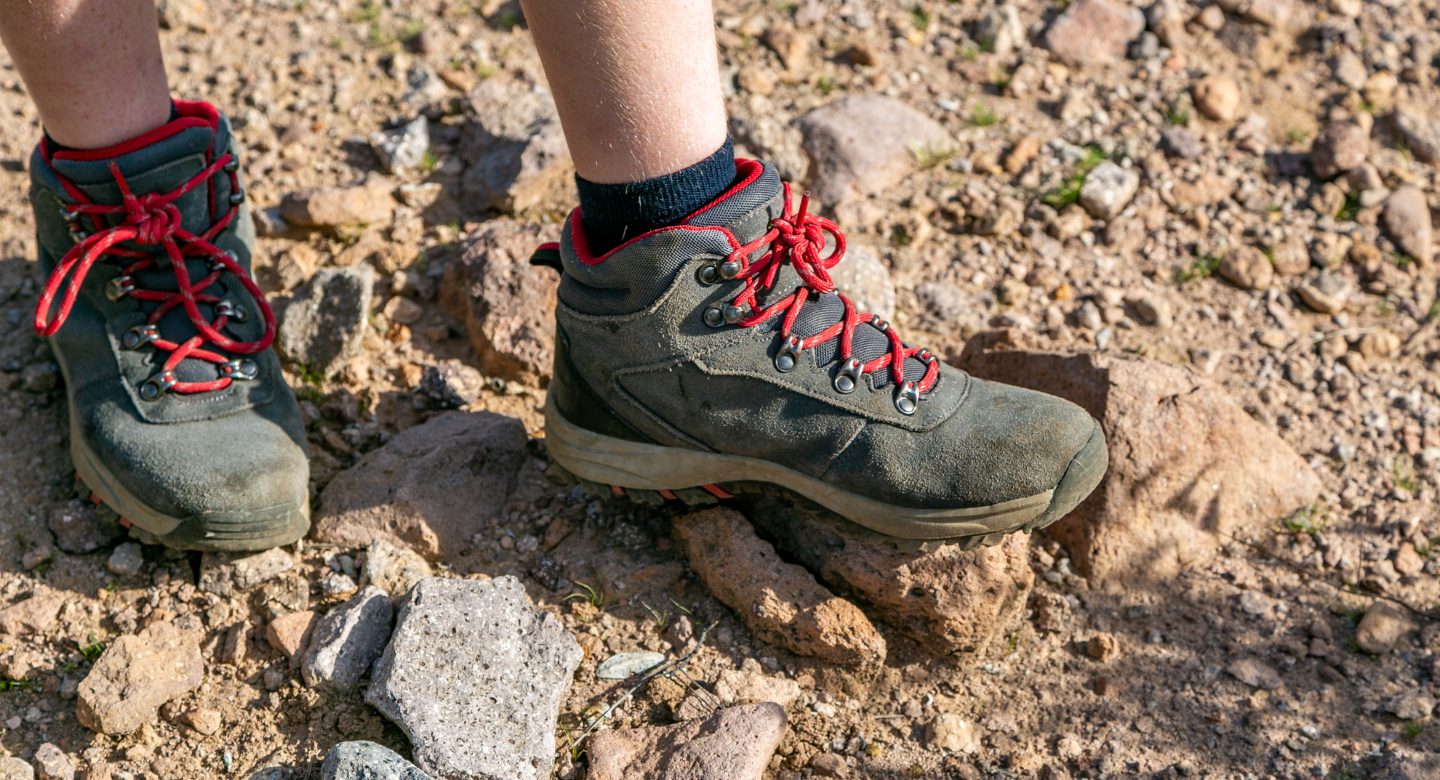
A. Choosing the Right Footwear
Your trekking shoes or boots are your most important piece of gear. The wrong pair can cause discomfort, foot pain, and blisters. Here’s how to make sure you get the perfect fit:
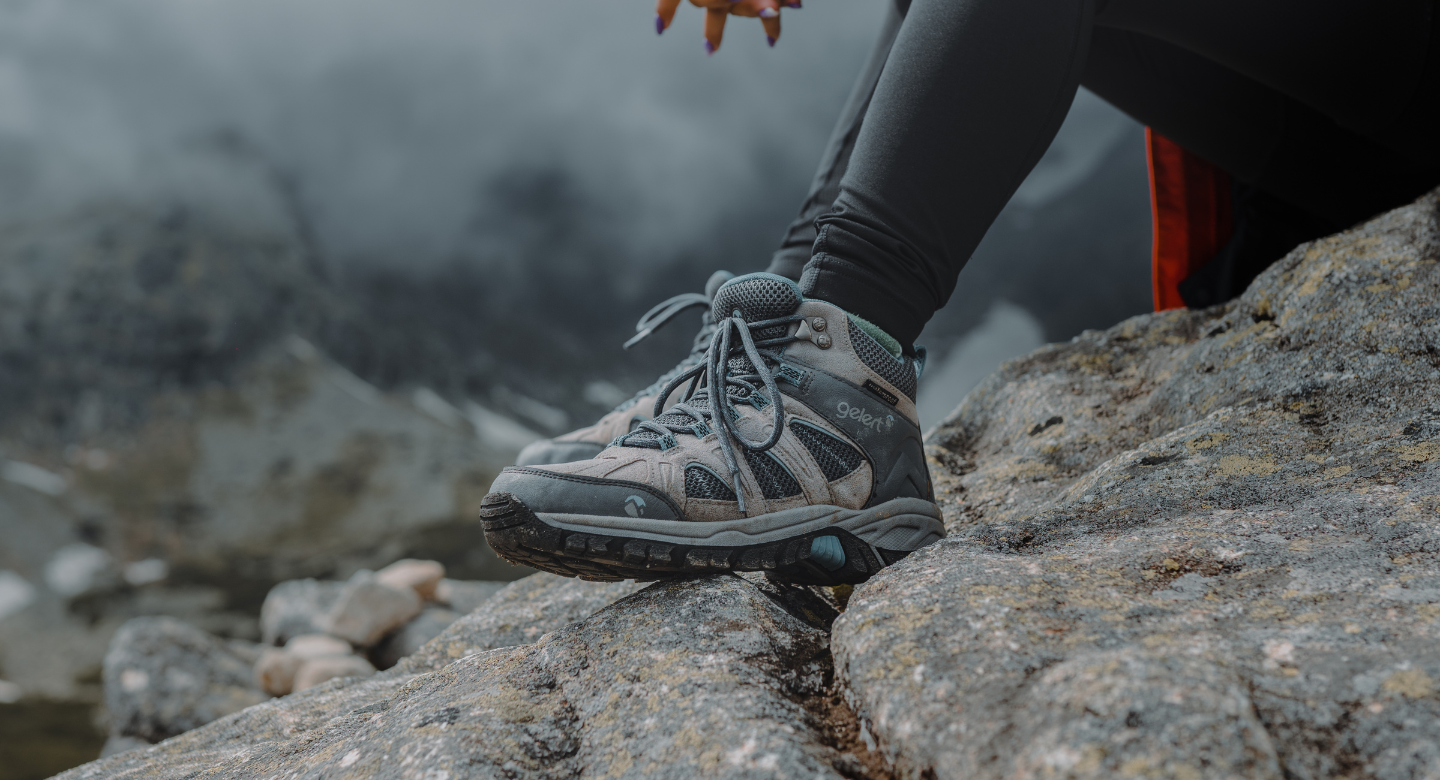
1. How to Select the Perfect Trekking Shoes/Boots
- Look for shoes designed specifically for trekking or hiking. These provide better support and durability.
- Consider the terrain—lightweight hiking shoes work for easy trails, while sturdy boots are better for rough terrain.
- Opt for shoes with breathable, moisture-wicking materials to reduce sweat buildup.
2. Importance of Breaking in New Shoes Before a Trek
New shoes may feel comfortable in the store, but wearing them straight on a long trek is a recipe for blisters. Breaking them in properly helps prevent painful rubbing.
- Wear them around the house for a few hours daily.
- Take them on short walks or hikes to see how they feel over time.
- Gradually increase your walking time to allow the shoes to mold to your feet.
3. Wearing the Right Size and Fit
- Your trekking shoes should be snug but not too tight—your toes need some wiggle room.
- Feet tends to swell during long treks, so try on shoes in the afternoon when your feet are slightly larger.
- Make sure there’s enough space (about a thumb’s width) between your longest toe and the front of the shoe to avoid toe blisters.
- Wear your trekking socks when trying on shoes to ensure the right fit.
B. Socks Matter!
Socks are just as important as your shoes when it comes to blister prevention. The wrong type of socks can trap moisture, cause friction, and lead to painful blisters.
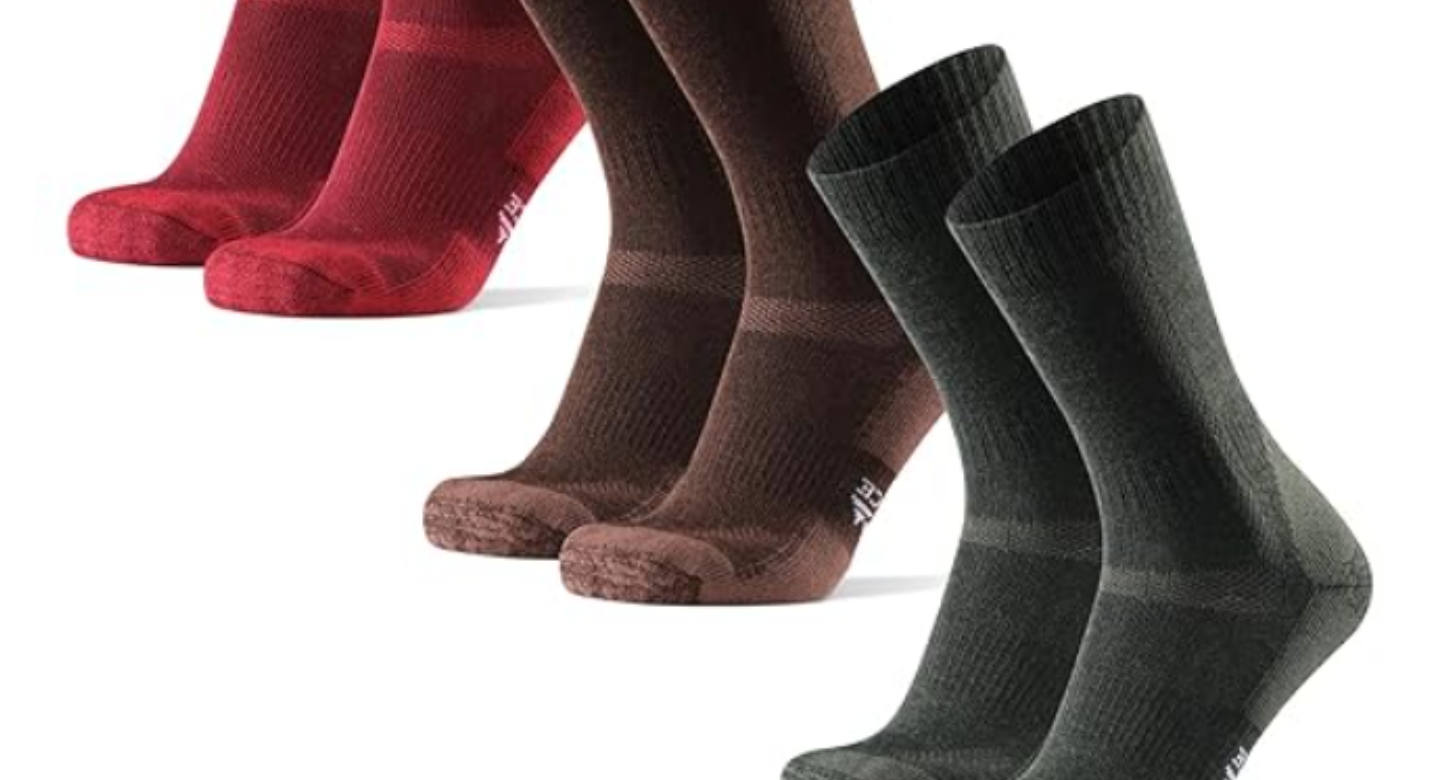
1. Best Materials for Trekking Socks
The right socks can help regulate moisture and reduce friction, keeping your feet dry and comfortable. The best materials include:
- Merino wool: Naturally moisture-wicking, breathable, and odor-resistant.
- Synthetic blends (polyester, nylon, spandex): Quick-drying and designed to pull sweat away from the skin.
2. Avoiding Cotton Socks – Why They’re Bad for Trekking
Many people wear cotton socks daily, but they are one of the worst choices for trekking. Why?
- Cotton absorbs moisture and dries slowly, leaving your feet damp.
- Wet cotton socks increase friction, which leads to blisters.
- They provide poor insulation, making them uncomfortable in both hot and cold conditions.
3. Double-Socking Technique for Extra Protection
If you’re prone to blisters, wearing two pairs of socks can provide an extra layer of protection:
- Thin liner socks (made of synthetic material) help wick away sweat.
- Thicker outer socks reduce friction between your foot and the shoe.
- This method helps prevent rubbing directly on your skin, reducing the risk of blisters.
C. Keeping Feet Dry and Moisture-Free
Moisture is one of the biggest culprits behind blisters. When your feet are damp from sweat or wet conditions, your skin softens and becomes more prone to friction. Keeping your feet dry is key to preventing painful blisters.
1. Using Foot Powders and Anti-Chafing Creams
- Foot powders (like talcum or cornstarch-based powders) help absorb moisture and keep your feet dry throughout the trek.
- Anti-chafing creams or lubricants (like petroleum jelly or specialized hiking balms) reduce friction and create a protective barrier on your skin.
- Apply these products before putting on your socks and reapply as needed during the trek.
2. Changing Socks Regularly
- Wet or sweaty socks increase friction, so carry extra pairs and change them as soon as they feel damp.
- If possible, let your used socks air dry by attaching them to your backpack while hiking.
- For long treks, bring at least two or three pairs of socks and rotate them.
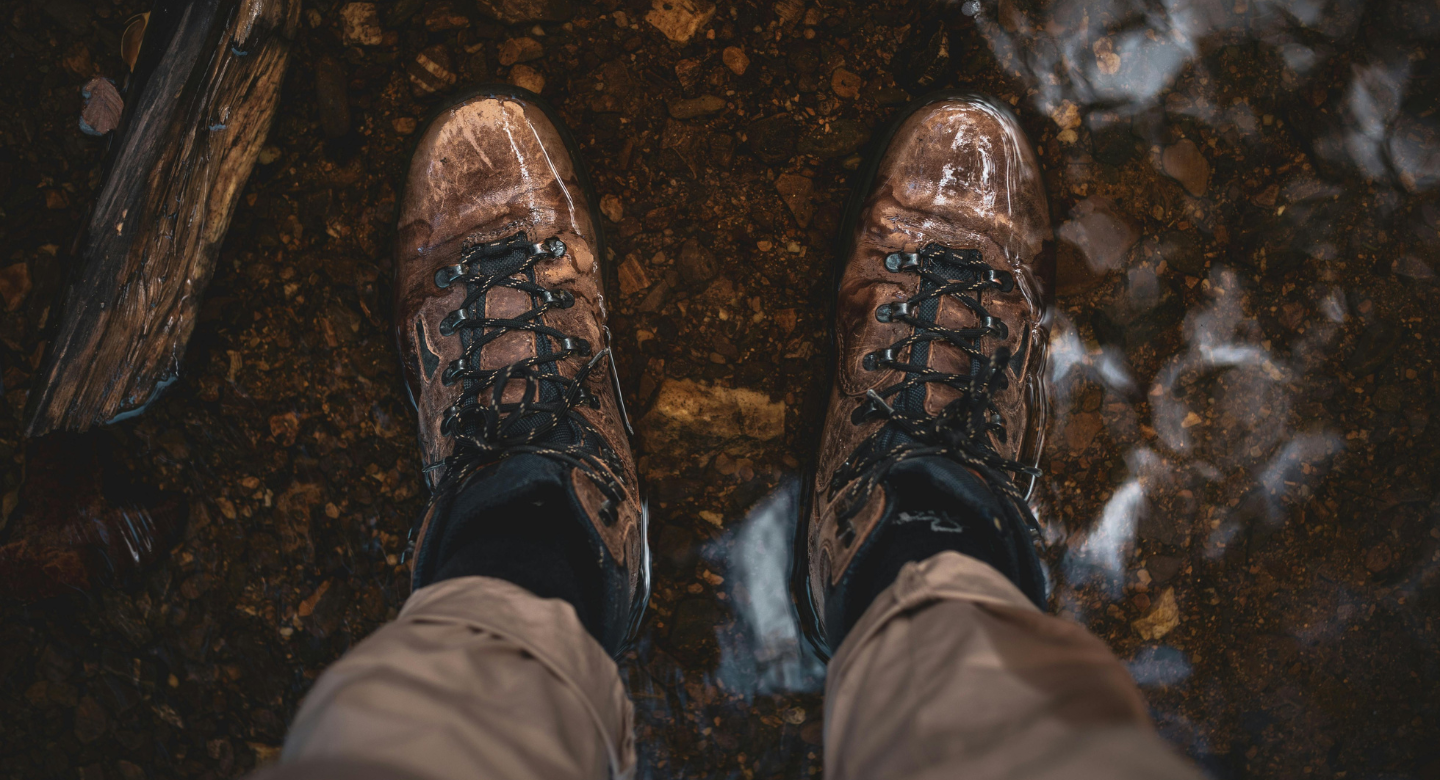
3. Waterproofing Shoes and Socks for Wet Treks
If you’re trekking in wet or muddy conditions, keeping water out of your shoes is crucial:
- Waterproof hiking boots or shoes with a breathable membrane (like Gore-Tex) can help keep moisture out.
- Waterproof socks provide an extra layer of protection if you’re walking through rain or streams.
- Gaiters (fabric covers for your ankles and lower legs) prevent water, dirt, and debris from entering your shoes.
D. Proper Lacing Techniques
How you lace your boots can make a big difference in preventing blisters. Poor lacing can lead to excessive foot movement, pressure points, and friction.
1. How to Lace Boots to Reduce Pressure and Friction
- Snug but not too tight: Your boots should feel secure, but your toes should still have some room to move.
- Lock your heel in place: Use the “heel lock” lacing technique to prevent your foot from sliding forward and causing blisters on your toes.
- Adjust as needed: Feet swell during long treks, so you may need to loosen or tighten your laces throughout the day.
2. Techniques for Different Foot Shapes and Problem Areas
- For high arches: Use a “window lacing” technique to relieve pressure on the top of your foot.
- For wide feet: Loosen the lower laces while keeping the ankle area secure.
- For narrow heels: Try the “lace lock” method to prevent heel slippage.
E. Strengthening and Conditioning Feet
Strong, well-conditioned feet are less prone to blisters. Preparing your feet before a trek can make them more resilient to long walks and rough terrain.
1. Exercises to Toughen Up Your Feet Before a Trek
- Toe curls and stretches: Strengthen the small muscles in your feet.
- Calf raises: Improve overall foot and ankle stability.
- Rolling a tennis ball under your foot: Helps loosen tight muscles and toughen the skin.
2. Walking Barefoot or in Minimalist Shoes to Improve Resilience
- Walking barefoot on different surfaces (grass, sand, or gravel) can help toughen the skin on your feet.
- Minimalist shoes encourage natural foot movement, improving strength and durability.
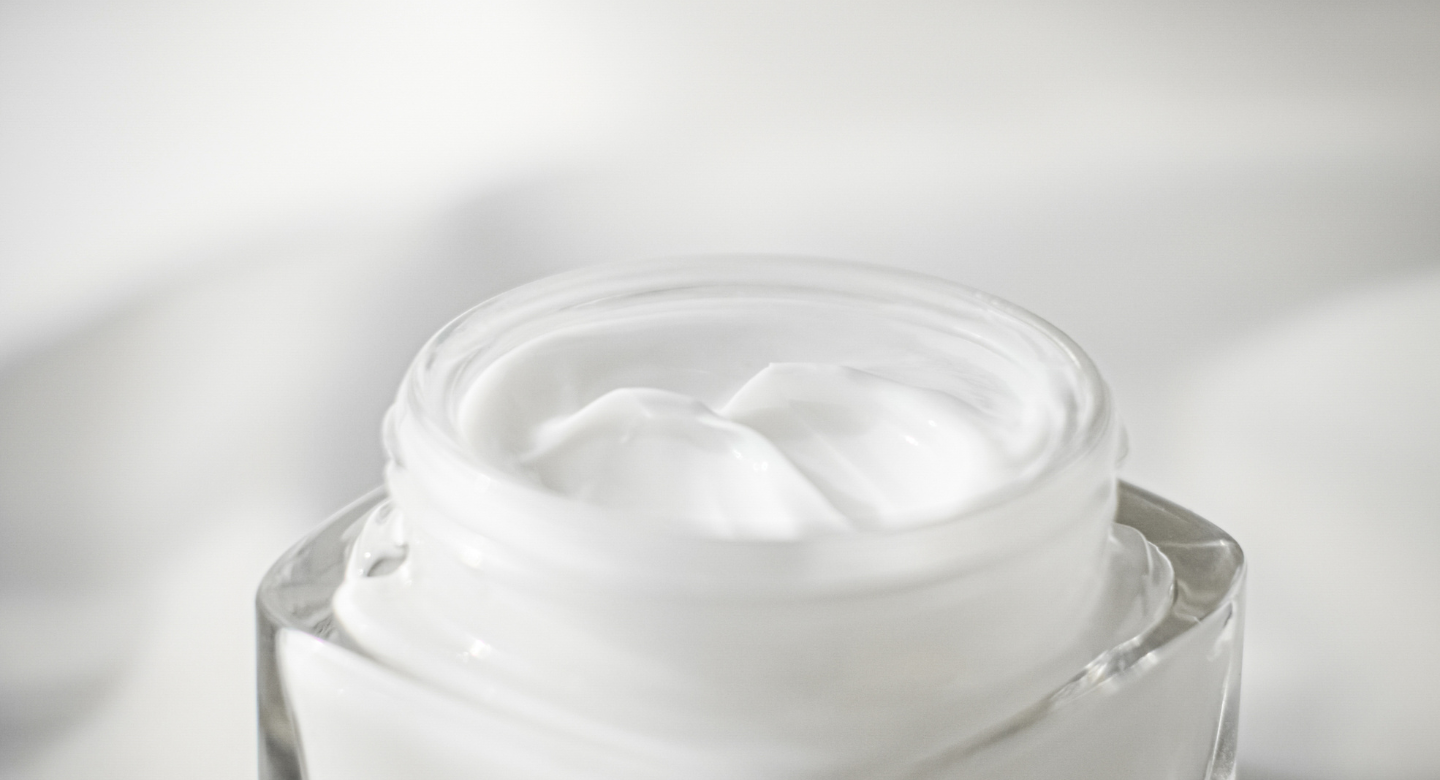
3. Using Foot Balms and Creams for Soft Yet Durable Skin
- Moisturize your feet daily with foot creams to prevent cracks and dryness.
- Avoid overly soft skin – While hydration is important, too much softness can increase friction. Strike a balance between supple and tough skin.
Blister Treatment: How to Handle an Existing Blister
Despite all precautions, blisters can still form, especially on long treks. Knowing how to treat them properly can prevent further discomfort and allow you to continue your journey with minimal pain.
A. To Pop or Not to Pop?
One of the most common questions trekkers ask is whether they should pop a blister or let it heal naturally.
When You Shouldn’t Pop a Blister
- If the blister is small, intact, and not painful, it’s best to leave it alone. The fluid inside acts as a natural cushion, protecting the skin underneath.
- If you can continue walking without discomfort, try covering it with a blister pad and let it heal on its own.
When You Should Pop a Blister
- If the blister is large, painful, or likely to burst on its own, draining it in a controlled way can prevent infection and discomfort.
- If it’s in a spot where constant friction makes walking difficult, draining it carefully can help.
How to Safely Drain a Blister
If you decide to pop the blister, follow these steps to reduce the risk of infection:
- Wash your hands with soap and water.
- Sanitize a needle by wiping it with alcohol or heating it over a flame.
- Gently pierce the side of the blister (not the center) to allow the fluid to drain.
- Press the fluid out gently but leave the skin intact—it acts as a natural bandage.
- Apply an antiseptic (like iodine or alcohol wipes) to prevent infection.
- Cover with a dressing to protect it from dirt and friction.
B. Proper Dressing and Bandaging
Once a blister forms, keeping it clean and protected is key to preventing infection and reducing pain.
1. Cleaning the Area with Antiseptic
- Use antiseptic wipes, alcohol, or iodine to clean the blister area.
- Avoid using harsh chemicals like hydrogen peroxide, as they can slow healing.
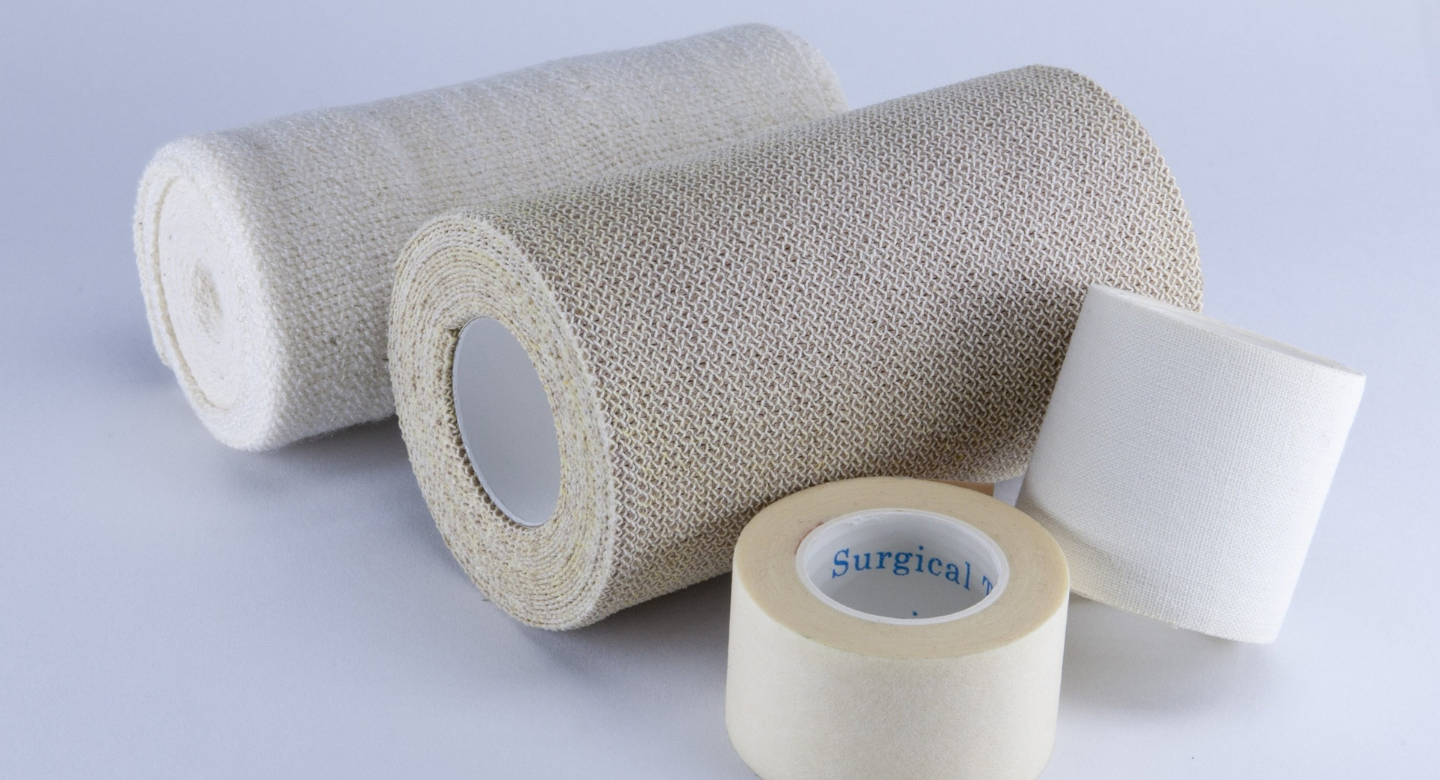
2. Covering with a Blister Pad or Hydrocolloid Dressing
- Blister pads or hydrocolloid dressings create a protective cushion and help the skin heal faster.
- If you don’t have a specialized blister pad, a regular bandage with some moleskin or gauze padding can work.
- Avoid regular adhesive bandages if they stick directly to the blister, as removing them can cause more damage.
3. Keeping the Area Protected but Breathable
- During the day, keep the blister covered to protect it from dirt, bacteria, and friction.
- At night, if you’re in a clean and dry environment, remove the dressing and let the blister air out to speed up healing.
C. Reducing Pain and Promoting Healing
Even with proper bandaging, a blister can still cause pain. Here’s how to relieve discomfort and help it heal faster:
1. Using Pain Relief Gels or Anti-Inflammatory Creams
- Apply cooling gels or anti-inflammatory creams (like aloe vera or ibuprofen gel) to soothe irritation.
- Avoid applying creams directly on an open blister—use them around the area instead.
2. Avoiding Further Irritation by Adjusting Footwear and Padding
- Loosen or adjust your laces to relieve pressure on the affected area.
- If the blister is on your heel or toe, use padding like moleskin, gel pads, or foam cushions to reduce friction.
- If possible, take short breaks to rest your feet and let the area breathe.
Aftercare: Post-Trek Foot Recovery
Your trek may be over, but your feet still need care. After days of walking on rugged trails, they’ve taken a beating and need time to recover. Proper post-trek foot care helps prevent long-term damage, reduces soreness, and gets you ready for your next adventure.
1. Soaking Feet in Warm Water with Epsom Salt
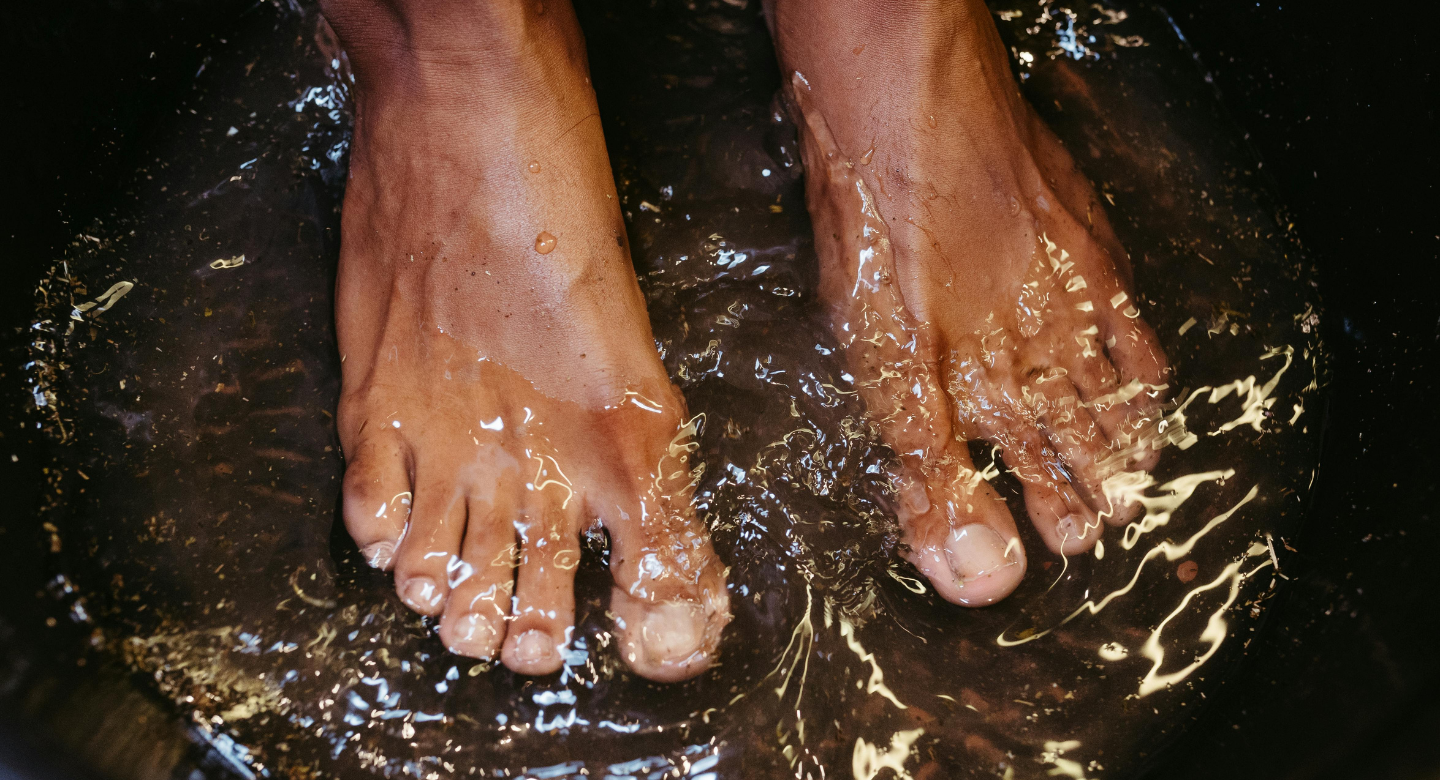
- A foot soak can relieve swelling, soothe soreness, and promote healing.
- Add Epsom salt to warm water—it helps relax muscles, reduce inflammation, and soften hardened skin.
- Soak for 15-20 minutes, then dry your feet thoroughly.
2. Moisturizing and Massaging Feet for Faster Recovery
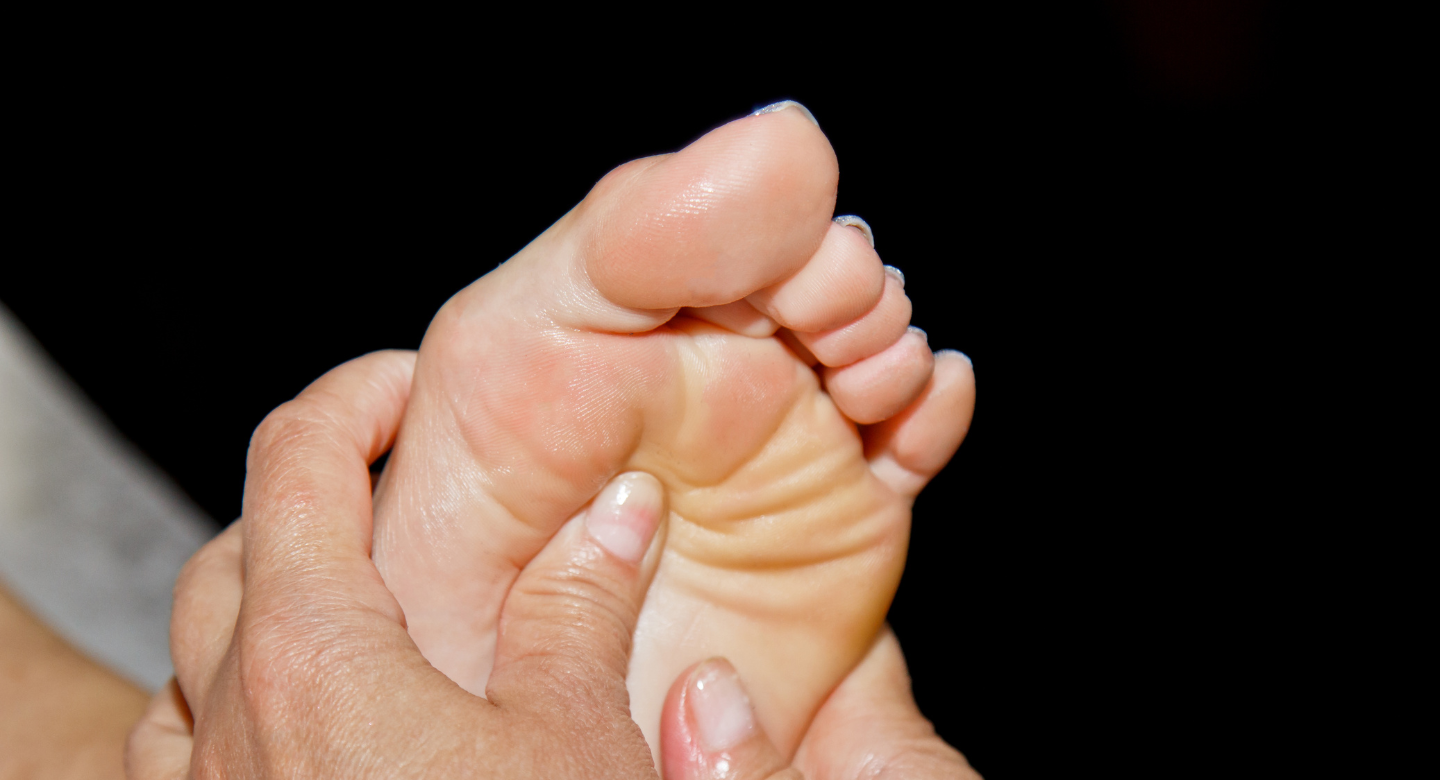
- After soaking, apply a moisturizing foot cream or balm to keep your skin hydrated and prevent cracks.
- Gently massage your feet, focusing on sore spots. This improves blood circulation and helps loosen tight muscles.
- If you have any blisters, avoid applying lotion directly to the affected area.
3. Checking for Infections and Seeking Medical Help if Needed
- Examine your feet for cuts, blisters, or signs of infection (redness, swelling, or pus).
- If a blister looks infected, keep it clean, apply an antibiotic ointment, and consult a doctor if it worsens.
- If you experience persistent pain, numbness, or swelling, seek medical attention—it could be a sign of a more serious issue like a stress fracture.
Additional Foot Care Tips for Trekkers
Regular foot care habits can prevent common foot problems and keep your feet in top condition for future hikes.
1. Importance of Regular Toenail Trimming
- Keep your toenails trimmed short and straight across to prevent painful ingrown toenails.
- Use a nail file to smooth rough edges and prevent snagging.
- Trim nails before a trek, but avoid cutting them too short, as this can irritate.
2. Dealing with Calluses and Corns
- Calluses (thickened skin from repeated friction) can protect your feet, but if they become too hard, they may crack and cause discomfort.
- Soak your feet and gently file calluses with a pumice stone to keep them smooth.
- Corns (small, hardened areas of skin) can be painful—use cushioning pads or consult a specialist if they become bothersome.
3. When to Replace Your Trekking Shoes
Trekking shoes wear out over time, losing their support, cushioning, and grip.
Replace them if you notice:
- Worn-out soles with reduced traction
- Compressed insoles that no longer provide cushioning
- Persistent discomfort or foot pain after wearing them
Most trekking shoes last 500-800 km (300-500 miles), but this depends on terrain and usage.
Conclusion of Blisters and Foot Care- Causes, Risk Factors, Tips to Avoid and Treatment
Blisters may be small, but they can have a big impact on your trekking experience. By taking proactive steps—choosing the right footwear, wearing moisture-wicking socks, and using proper lacing techniques—you can significantly reduce the risk of painful blisters. If one does appear, knowing how to treat it with proper cleaning, bandaging, and protection will help you stay comfortable and keep moving. Trekking should be about enjoying the journey, not suffering through foot pain.
Caring for your feet doesn’t stop when the trek ends. Post-trek recovery, including soaking, moisturizing, and checking for any lingering issues, is just as important in keeping your feet strong and healthy for future adventures. With the right foot care routine, you can enjoy more hikes, longer treks, and pain-free adventures. Whether you’re a beginner or an experienced trekker, happy feet will always lead to a more enjoyable and rewarding journey. Take care of your feet, and they’ll take you anywhere!
Read More
Trekking Shoes vs. Sport Shoes: Which One is Best for You?
10 exercises to help you carry your backpack easily
Frequently Asked Questions (FAQs) on Conclusion of Blisters and Foot Care- Causes, Risk Factors, Tips to Avoid and Treatment
What is the main cause of blisters while trekking?
Blisters are primarily caused by friction, moisture, and pressure. When skin rubs against socks or shoes repeatedly, the outer layer of skin separates, and fluid fills the space, forming a blister. Wearing ill-fitting shoes, hiking with wet feet, and not conditioning feet before a trek can all increase the risk.
How can I prevent blisters when trekking long distances?
To prevent blisters, wear properly fitted trekking shoes, choose moisture-wicking socks, and break in new footwear before your hike. Using footpowder, anti-chafing creams, and proper lacing techniques can also help reduce friction. Additionally, keep your feet dry by changing socks regularly and airing out your shoes during breaks.
Are cotton socks really that bad for trekking?
Yes! Cotton socks retain moisture, which makes your feet damp and more prone to friction and blisters. Instead, choose socks made from merino wool or synthetic blends, which wick moisture away and dry quickly, keeping your feet comfortable.
Should I pop a blister while trekking?
It depends on the size and location of the blister. If the blister is small and not painful, leave it intact, as the skin protects against infection. However, if it is large, painful, or likely to burst on its own, you can safely drain it using a sanitized needle. After draining, clean the area with antiseptic and cover it with a blister pad or dressing.
What should I do if I feel a hot spot on my foot while hiking?
A hot spot is an early sign that a blister may form. As soon as you feel one, stop and take action immediately. Apply moleskin, tape, or a blister bandage to the area, check for moisture, and adjust your socks or lacing if needed. Addressing a hot spot early can prevent a full blister from forming.
Can I still hike with a blister?
Yes, but you’ll need to protect the blister to minimize pain and further damage. Use blister pads, hydrocolloid dressings, or moleskin to cushion the area and reduce friction. Adjust your footwear if necessary, and take breaks to let your feet breathe. If the blister becomes infected or extremely painful, it’s best to rest and treat it properly before continuing.
How often should I change my socks during a trek?
This depends on the terrain and weather conditions. Ideally, change your socks at least once a day, or more often if they become damp or sweaty. Carry an extra pair of socks and let used ones dry by attaching them to your hiking backpack.
What’s the best way to waterproof my feet for wet treks?
For wet treks, wear waterproof hiking boots or shoes with a breathable membrane (like Gore-Tex). Use waterproof socks or apply a water-repellent spray to your boots. Gaiters can also help prevent water from seeping into your shoes, keeping your feet dry.
How do I toughen up my feet before a trek?
To prepare your feet for long hikes, gradually increase your walking distances, preferably on similar terrain to your trek. Walking barefoot or in minimalist shoes can help strengthen foot muscles and toughen the skin. You can also use foot creams and balms to keep the skin healthy without making it too soft.
When should I replace my trekking shoes?
Trekking shoes generally last 500-800 km (300-500 miles), depending on the terrain and how often they’re used. Signs that it’s time to replace them include worn-out soles, reduced cushioning, poor grip, and persistent foot pain after wearing them. If your shoes no longer provide proper support, they could contribute to blisters and other foot issues.
[…] Common Trekking Injuries and How to Prevent ThemBlisters and Foot Care: How to Keep Your Feet Happy on a Trek […]