Transform your kitchen scraps into garden gold with this step-by-step guide on how to make compost from kitchen waste. Perfect for beginners looking to reduce waste and create nutrient-rich soil.
Composting kitchen waste is a rewarding way to reduce household garbage while creating nutrient-rich soil for your garden. Learning how to make compost from kitchen waste doesn’t require special skills—just some basic knowledge and a bit of patience. This guide for beginners will walk you through everything you need to know about turning everyday kitchen scraps into valuable compost for your plants.
Why Compost Kitchen Waste?
Before diving into the how-to, let’s understand why kitchen waste composting matters:
- Reduces landfill waste by diverting food scraps from garbage bins. Food waste makes up about 30% of what we throw away, and composting can significantly reduce this volume going to landfills.
- Creates free, nutrient-rich fertilizer that improves soil quality. Compost adds essential nutrients like nitrogen, phosphorus, and potassium that plants need to thrive without chemical additives.
- Decreases methane emissions that would occur when organic matter decomposes in landfills. When food scraps break down without oxygen in landfills, they release methane, a greenhouse gas 25 times more potent than carbon dioxide.
- Completes the natural cycle by returning nutrients back to the soil. Composting mimics nature’s recycling system, returning valuable organic matter to the earth instead of wasting it.
- Saves money on store-bought fertilizers and soil amendments. A typical household can produce enough compost annually to meet all their gardening needs, eliminating the need to purchase expensive soil products.
What You’ll Need for Kitchen Waste Compost
Getting started with composting requires minimal equipment:
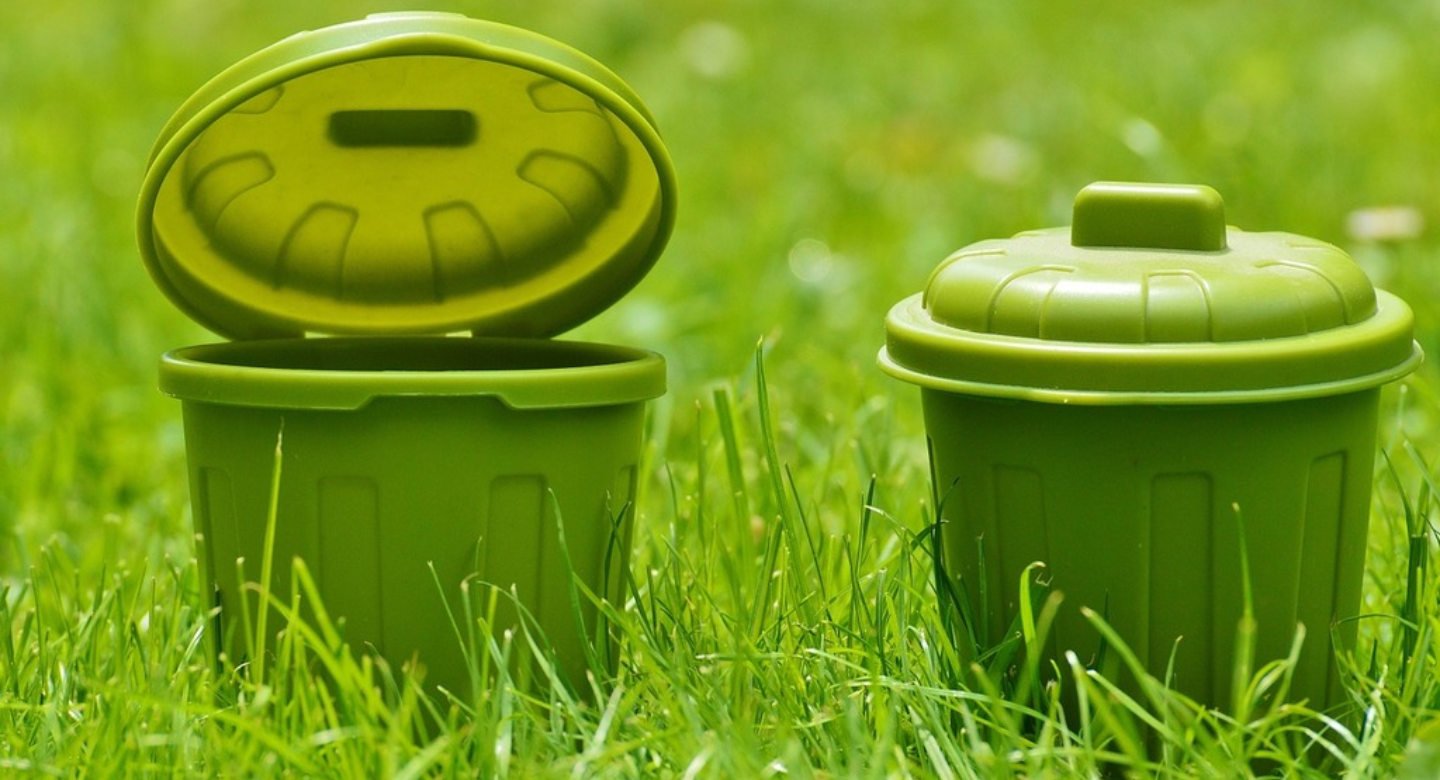
Compost Container Options
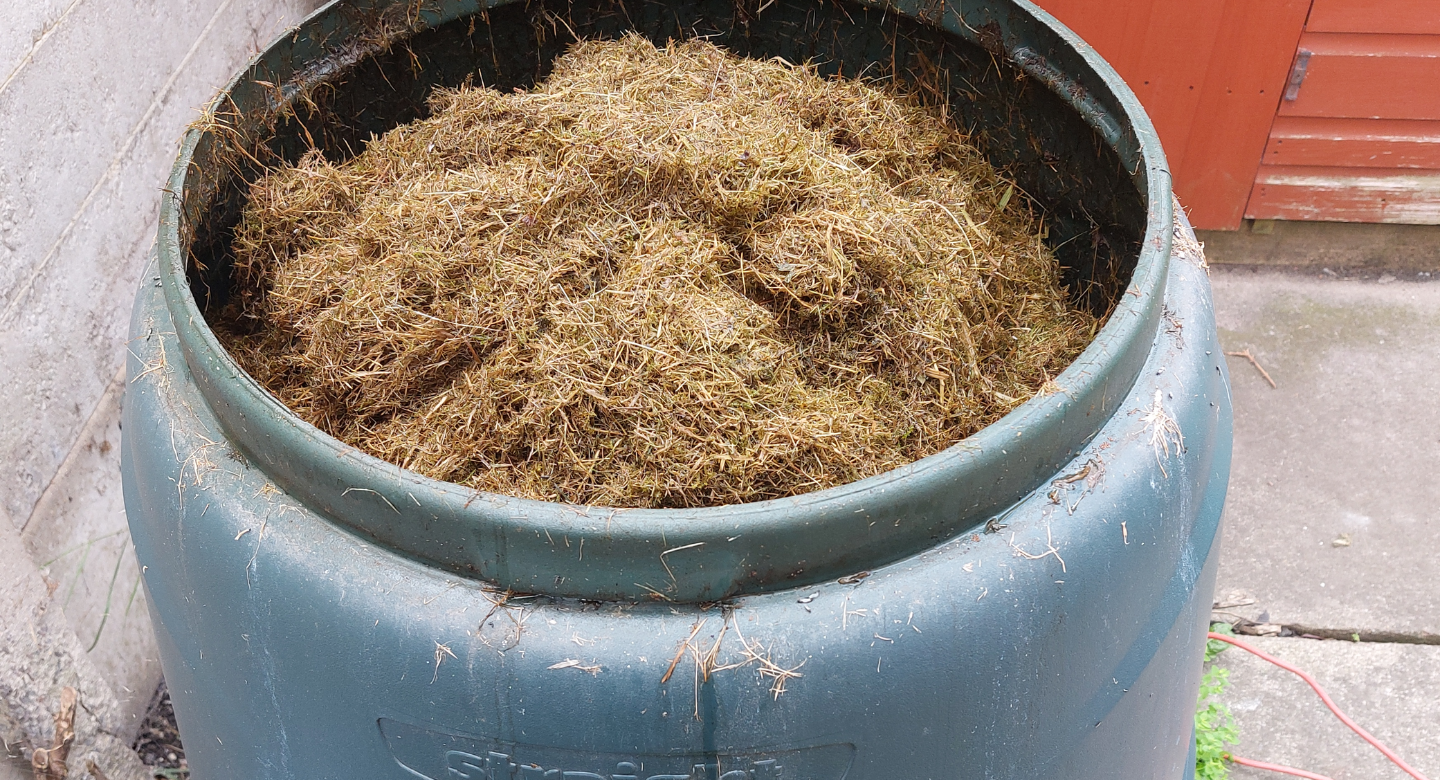
- Outdoor bin or pile: Perfect if you have yard space. A simple enclosed bin about 3x3x3 feet works well for most households and can be purchased or built from wood pallets or wire fencing.
- Tumbler composter: Makes turning compost easier and speeds up decomposition. These elevated, rotating drums allow you to mix materials without a pitchfork and often produce finished compost in 4-8 weeks instead of months.
- Indoor worm bin: Ideal for apartments or small spaces. Vermicomposting uses red wiggler worms to break down kitchen scraps in a controlled indoor environment with minimal odor.
- Bokashi system: Ferments waste before composting, reducing odors. This Japanese method uses beneficial microorganisms to quickly ferment food waste (including meat and dairy) in an airtight container before adding it to soil.
Basic Tools

- A small kitchen counter bin for collecting daily scraps. Choose one with a tight-fitting lid and charcoal filter to prevent odors from escaping while you accumulate enough scraps to take outside.
- Garden gloves to protect your hands from potential bacteria, fungi, and sharp objects when handling compost materials.
- Pitchfork or turning tool (for outdoor compost) to aerate your pile and speed up decomposition by introducing oxygen throughout the materials.
- Spray bottle for moisture control, allowing you to precisely add water to dry spots without oversaturating your compost pile.
How to Make Compost from Kitchen Waste: Step-by-Step
1. Choose Your Composting Method
Select a method that fits your living situation. For beginners, a simple outdoor bin or indoor worm bin might be easiest. Consider your available space, time commitment, and how quickly you need finished compost. Urban dwellers with limited space might prefer vermicomposting, while suburban gardeners with yards could opt for traditional outdoor bins or tumblers.
2. Collect Kitchen Waste Properly
Not all kitchen waste is suitable for composting. Here’s what works best:

Good for compost:
- Fruit and vegetable scraps, which provide nitrogen and break down quickly due to their high water content and soft structure.
- Coffee grounds and filters, which add nitrogen and attract earthworms that help accelerate the decomposition process.
- Tea bags (remove staples), which contribute nitrogen and add beneficial tannic acid to your compost pile.
- Eggshells (crushed), which add calcium to your compost and eventually to your soil, helping prevent blossom end rot in tomatoes and other garden vegetables.
- Nutshells, which break down slowly and add valuable carbon while creating air pockets in your compost pile.
- Bread and grains (in moderation), which can be composted but should be buried deep in the pile to avoid attracting pests.
Avoid adding:
- Meat and fish scraps, which decompose slowly, create strong odors, and attract unwanted pests like rats, raccoons, and flies.
- Dairy products, which can cause odor problems and attract pests, disrupting the balance of your compost ecosystem.
- Oils and fats, which coat compost materials and prevent water and air circulation, slowing down the entire decomposition process.
- Diseased plants, which may spread pathogens throughout your compost and later to your garden when the compost is applied.
- Pet waste, which can contain parasites and pathogens harmful to humans and should never be added to compost used on food gardens.
Keep a small container with a lid in your kitchen to collect scraps daily. This makes the kitchen waste compost process more convenient and helps establish a consistent composting habit.
3. Balance Green and Brown Materials
Successful composting requires a balance of:

- Green materials (nitrogen-rich): Kitchen scraps, fresh grass clippings, coffee grounds. These provide protein for microorganisms and heat up the pile, accelerating decomposition through microbial activity.
- Brown materials (carbon-rich): Dry leaves, shredded newspaper, cardboard, wood chips. These provide energy for microorganisms and create air spaces in your compost, preventing the pile from becoming too dense and soggy.
Aim for roughly a 1:3 ratio of green to brown materials. This balance helps your kitchen waste compost break down properly without developing odors. Too many greens can create a smelly, slimy pile, while too many browns will result in a pile that decomposes extremely slowly.
4. Layer Your Compost Correctly
Build your compost pile in layers:

- Start with a layer of browns for drainage (twigs, branches), creating a foundation about 4-6 inches thick that allows air to circulate from the bottom of your pile.
- Add greens (kitchen scraps) in a layer no more than 2-3 inches thick to prevent compaction and allow proper aeration.
- Cover with more browns, using about three times as much brown material as green to maintain the proper carbon-to-nitrogen ratio.
- Sprinkle with a thin layer of garden soil or finished compost, which introduces beneficial microorganisms that will jumpstart the decomposition process.
- Repeat these layers as you add more material, following the same pattern to maintain a healthy balance throughout your pile.
5. Maintain Proper Conditions
Compost microorganisms thrive under certain conditions:
- Moisture: Keep compost as damp as a wrung-out sponge. Too much water displaces oxygen and creates anaerobic conditions, while too little water slows down decomposition as microbes need moisture to function.
- Aeration: Turn your compost every 1-2 weeks to add oxygen. This prevents anaerobic decomposition (which creates odors) and speeds up the process by keeping aerobic bacteria active throughout the pile.
- Size: Smaller pieces decompose faster, so chop large kitchen scraps. Cutting waste into pieces no larger than 2 inches provides more surface area for microbes to work on, significantly accelerating the composting process.
- Temperature: A healthy compost pile will heat up as materials break down. The center should reach 120-150°F (49-66°C) during active decomposition, which kills weed seeds and harmful pathogens while indicating good microbial activity.
6. Troubleshoot Common Issues
Even experienced composters face challenges. Here are quick fixes for common problems:
- Smelly compost: Add more browns and turn the pile more frequently. The smell usually indicates anaerobic decomposition, which happens when there’s too much moisture and not enough oxygen in the pile.
- Attracts pests: Bury kitchen waste in the center of the pile and avoid meat/dairy. Creating a barrier of browns around your greens helps mask odors that might attract rodents, raccoons, or neighborhood pets.
- Too wet: Add dry browns and turn the pile. Materials like shredded cardboard, dry leaves, or wood chips will absorb excess moisture and restore proper balance to your compost.
- Too dry: Spritz with water and add more greens. A dry pile decomposes very slowly, so moistening it while adding nitrogen-rich materials will reactivate the microbial processes.
Harvesting and Using Your Kitchen Waste Compost
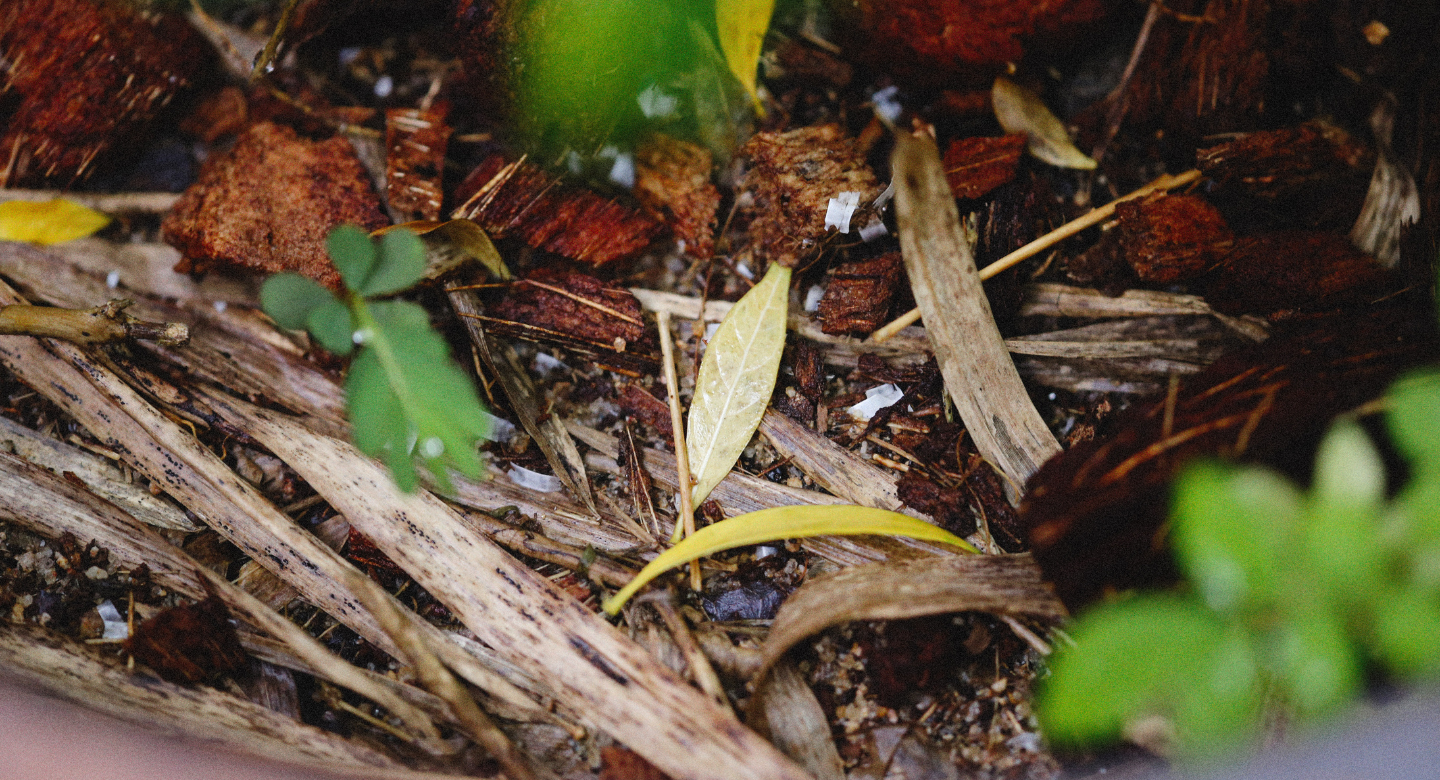
After 3-12 months (depending on your method and conditions), your compost will be ready. Finished compost looks like dark, crumbly soil with an earthy smell and no recognizable food scraps remaining.
How to Use Your Compost:
- Mix into garden soil before planting to improve soil structure, drainage, and nutrient content. Add 2-3 inches of compost and work it into the top 6-8 inches of soil to give plants a strong start.
- Top-dress around established plants by spreading a 1-2 inch layer of compost around the base, being careful not to pile it against stems or trunks which could cause rot.
- Brew compost tea for liquid fertilizer by steeping finished compost in water for 24-48 hours, then straining and using the nutrient-rich liquid to water plants or spray on foliage.
- Add to potting mix for container plants, using about 20-30% compost mixed with commercial potting soil to provide slow-release nutrients throughout the growing season.
- Use as mulch around trees and shrubs, applying a 2-inch layer to suppress weeds, retain soil moisture, and slowly release nutrients as the compost continues to break down.
Tips for Beginner Composters
- Start small and expand as you learn. Beginning with a simple system helps you master the basics before investing in larger or more complex setups.
- Keep a “cheat sheet” of compostable items near your kitchen bin. This helps family members participate correctly and prevents inappropriate items from contaminating your compost.
- Store kitchen scraps in the freezer to prevent odors if you can’t add them to your compost pile right away. Freezing also helps break down cellular structures, speeding decomposition when scraps are later added to the compost.
- Remember that smaller pieces break down faster. Taking an extra moment to chop large scraps can reduce composting time by weeks or even months.
- Be patient—composting is a natural process that takes time. Rushing the process usually leads to incomplete decomposition and potential problems when using the compost.
Conclusion On How To Make Compost From Kitchen Waste
Learning how to make compost from kitchen waste is a rewarding journey that benefits both your garden and the planet. This guide for beginners should give you the confidence to start your own kitchen waste compost system. Remember that composting is both a science and an art—don’t be afraid to experiment and find what works best for your unique situation.
With time, you’ll transform your kitchen waste into “black gold” that helps your garden flourish naturally. Happy composting!
Discover More Such Blogs:
Bioenzyme The Nature’s Magic Cleaner
Eco-Friendly Products: 10 Reasons to Purchase Them
Frequently Asked Questions (FAQs) About How To Make Compost From Kitchen Waste
Will my compost pile smell bad if I add kitchen waste?
A properly managed compost pile should not emit unpleasant odors, even with kitchen waste included. When offensive smells develop, it usually indicates an imbalance in your compost that can be easily corrected. The most common cause of odor is too many “green” nitrogen-rich materials (like kitchen scraps) without enough “brown” carbon-rich materials to balance them. When this happens, add more dry leaves, shredded newspaper, or cardboard, and turn the pile thoroughly to introduce oxygen. Another possible cause is excessive moisture, which creates anaerobic conditions where odor-producing bacteria thrive. If your pile is too wet, add more browns and turn it frequently until the moisture balance improves. Burying fresh kitchen scraps in the center of the pile rather than leaving them exposed on top will also significantly reduce any potential odor issues.
Can I compost in an apartment or small space?
Absolutely! Small-space living doesn’t mean you can’t participate in kitchen waste composting. Several compact systems are specifically designed for apartments, condos, and other limited spaces. Vermicomposting (worm bins) is particularly well-suited for indoor use, as these systems are odorless when properly maintained and can be kept under a sink, in a closet, or on a balcony. A typical worm bin measuring just 20″ × 16″ × 12″ can process the kitchen waste from a household of 1-2 people. Bokashi fermentation systems are another excellent option for apartment dwellers, allowing you to ferment food scraps (including meat and dairy) in an airtight container before adding them to a community garden or larger compost system. Some cities also offer compost collection services or community compost drop-off points, allowing apartment residents to collect kitchen scraps for composting without maintaining their own system.
Why isn’t my kitchen waste breaking down quickly?
If your kitchen waste seems to be decomposing slowly, several factors might be responsible. The most common issue is temperature—decomposition slows significantly during cold weather as microbial activity decreases. Another frequent culprit is insufficient moisture; compost microorganisms need water to function properly, so a pile that’s too dry will break down very slowly. Size matters as well—larger pieces take much longer to decompose than smaller ones, so chopping kitchen scraps into smaller pieces (1-2 inches) can dramatically speed up the process. Poor aeration can also slow decomposition, as composting microbes require oxygen to function efficiently; turning your pile every 1-2 weeks introduces fresh oxygen throughout the materials. Finally, an improper carbon-to-nitrogen ratio can stall decomposition—if you’ve added too many brown materials without enough green materials to balance them, the pile may lack the nitrogen necessary to support robust microbial activity.
Can I add citrus peels and onions to my kitchen waste compost?
Despite some myths suggesting otherwise, citrus peels and onions can absolutely be added to your kitchen waste compost. The concern about citrus peels stems from their acidity and natural oils that might theoretically slow decomposition or harm worms in vermicomposting systems. Similarly, some worry that onions’ strong smell might repel beneficial organisms or attract pests. In practice, however, these materials break down just fine in a properly maintained compost pile. The key is moderation—don’t overwhelm your compost with large quantities of citrus peels or onions all at once. Chop these items into smaller pieces to help them break down more quickly, and mix them well with other materials. In traditional outdoor compost piles, citrus and onions pose no problems whatsoever. For worm bins, you can still add them, but in limited quantities (about 10% or less of the total food scraps) to avoid potential issues with the worm population.
How can I speed up my kitchen waste compost process?
To accelerate kitchen waste composting, focus on optimizing the four key factors that influence decomposition: particle size, aeration, moisture, and the carbon-to-nitrogen ratio. Start by chopping all materials, especially kitchen scraps, into smaller pieces (ideally 1-2 inches) to increase surface area for microbial activity. Turn your compost pile frequently—every 3-7 days during active composting periods—to introduce oxygen throughout the materials, which powers aerobic decomposition. Maintain proper moisture levels (about as damp as a wrung-out sponge) by adding water during dry periods and covering the pile during heavy rain. Achieve the ideal carbon-to-nitrogen ratio by balancing your kitchen scraps (nitrogen-rich “greens”) with approximately three times as much carbon-rich “browns” like dry leaves or shredded paper. Adding a shovelful of finished compost or quality garden soil can introduce beneficial microorganisms that jumpstart decomposition. For even faster results, consider investing in a compost tumbler, which makes frequent turning easier and can reduce composting time to just 4-8 weeks.
Is it safe to use kitchen waste compost on vegetable gardens?
Kitchen waste compost is completely safe and highly beneficial for vegetable gardens when properly processed. The key to safety lies in ensuring your compost has fully matured before application. Properly finished compost reaches temperatures of 130-150°F (54-66°C) during the active decomposition phase, which is sufficient to kill most pathogens and weed seeds. You’ll know your compost is ready when it has a dark brown color, crumbly texture similar to rich soil, and pleasant earthy smell with no traces of rotting food odors. No food scraps should be identifiable in the finished product. If you’re concerned about potential pathogens, allow your compost to cure for an additional 2-4 weeks after it appears finished. When applying kitchen waste compost to food gardens, mix it into the soil several weeks before planting, or use it as a side dressing for established plants, keeping it away from direct contact with edible portions of plants. Following these practices ensures your homemade compost provides maximum benefits to your vegetable garden without any safety concerns.
What should I do with my compost during winter months?
Composting doesn’t need to stop when temperatures drop, though the process typically slows down considerably during winter months. In cold climates, microbiological activity decreases as temperatures fall below 50°F (10°C), and may become minimal once temperatures drop below freezing. Despite this slowdown, you can continue adding kitchen waste to your compost throughout winter. Create a larger pile before winter sets in, as bigger volumes retain heat better than smaller ones. Insulate your compost bin by surrounding it with straw bales, bagged leaves, or old blankets to retain some warmth. Continue collecting kitchen scraps during winter, either adding them directly to the outdoor pile (burying them in the center where it’s warmest) or storing them temporarily in a covered container if accessing your compost is difficult. Some composters keep a separate winter “holding bin” that they’ll actively process in spring. If possible, position your winter compost in a sunny location and use a dark-colored bin to absorb solar heat. When spring arrives, turn the partially decomposed material thoroughly to reactivate the composting process.
How do I know when my kitchen waste compost is ready to use?
Finished compost has several distinctive characteristics that signal it’s ready for garden use. Mature compost looks dark brown to almost black and has a crumbly, soil-like texture that breaks apart easily in your hands. It should have a pleasant, earthy smell reminiscent of forest soil—never sour or rotten. No food scraps or other original materials should be recognizable, though you might still see some woody pieces like twigs that take longer to break down (these can be sifted out or returned to the active compost pile). The volume of your original materials will have reduced by about 50%, and the temperature of the pile will have cooled to match the ambient temperature, indicating that microbial activity has slowed as decomposition completes. A simple test involves placing a handful of compost in a sealed plastic bag for three days—if it develops strong odors when opened, it needs more time to mature. For vegetable gardens, it’s better to use fully mature compost, while slightly less decomposed material can work well as mulch around ornamental plants.